Introduction
If you want to contribute to DRGLib, or even just poke around the source code, this guide will help you get there.
Step 0: Getting the required programs
You will require the following programs to use build DRGLib:
- git
- I personally really enjoy TortoiseGit, a GUI that helps keep all the git commands straight
- For this example, I’ll be using the git command line instructions, but I’ll link appropriate tutorials to use TortoiseGit for the same processes
- Unreal Engine 4.27
- Visual Studio
- Community edition will fill our needs
- When installing, make sure you select “Game development for C++” and check the optional “Unreal Engine Installer”
- Epic has a guide for setting up VS here if you need more help
- VS 2022 is recommended for development with UE 4.27, but I’ve personally stuck with VS 2019 without problems
Step 1: Download the source code
There are 2 main approaches to downloading any Github source code: You can clone it using the URL, or download the ZIP. I recommend cloning, as it makes contribution much easier.
1.a
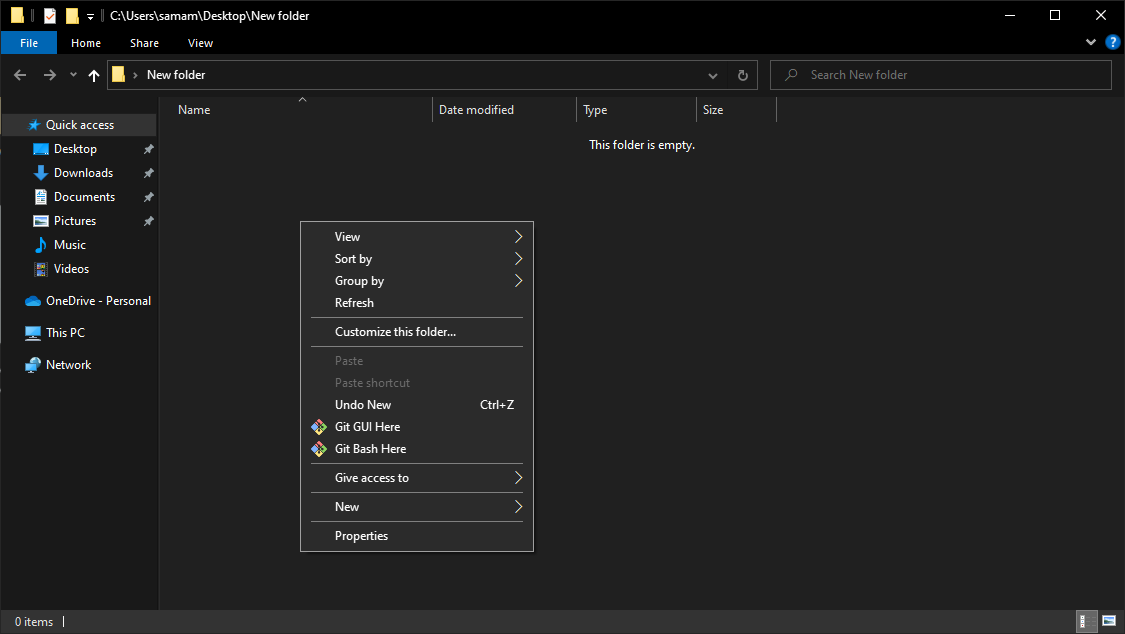
open an empty folder (In this example, “New Folder” on the desktop)
1.b
Open a “Git bash” terminal in this folder
1.c
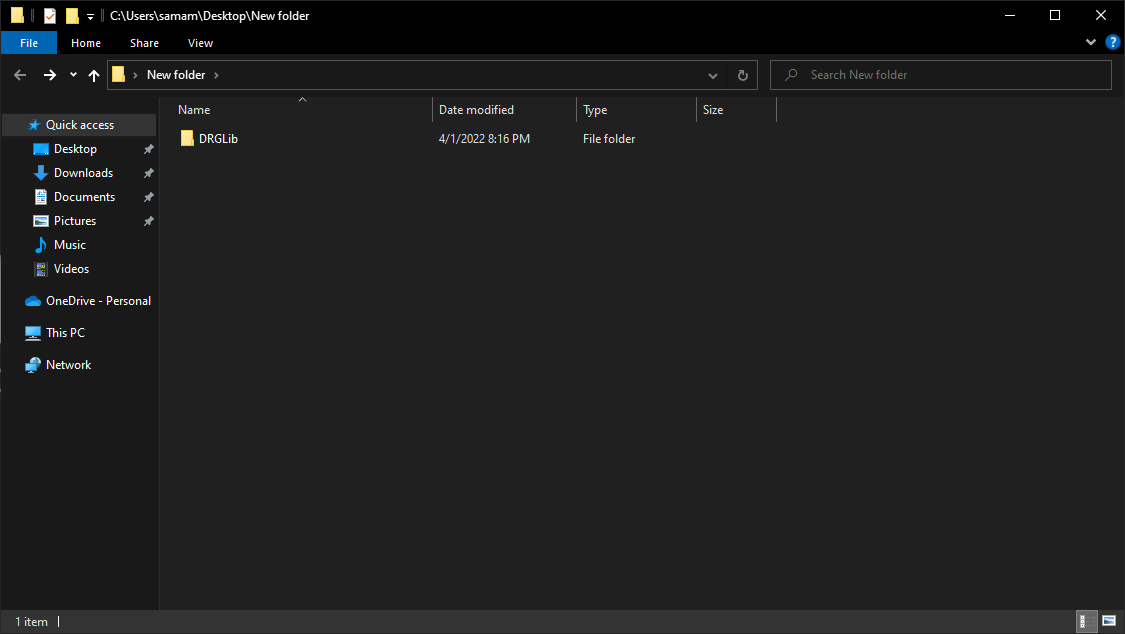
Run the command git clone https://github.com/SamsDRGMods/DRGLib.git

After this you should have a folder named “DRGLib” in your system, with the contents of the repository
Step 2: Setup the ModHub submodule
DRGLib makes an effort to interface directly with ModHub. In order to do this it needs to read some of the ModHub source code, which is accomplished through a “Submodule”, with a symbolic link so that DRGLib can read the appropriate ModHub files
TortoiseGit tutorial on submodules (You should just need sync/update) (Don’t skip step 2.c)
2.a
Open the folder “DRGLib”
2.b
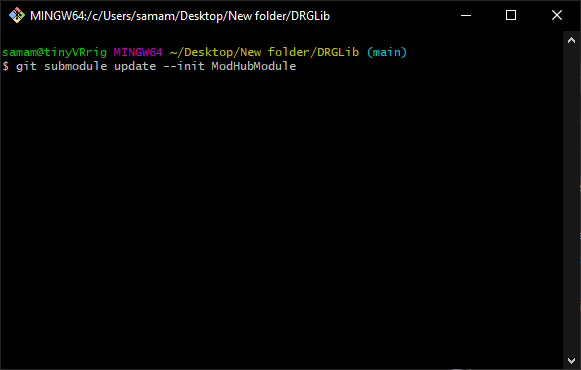
Open another “Git bash” terminal and run the command git submodule update --init ModHubModule
2.c
Open the folder “Automation” and run that batch file “RemakeSymlink” as administrator
Note If you have symlinks enabled in git then you shouldn’t have to do this, but it can’t hurt to do. If you want to check if it’s required see if DRGLib UE Project/Content/ModHub is a file or folder link (It should be a folder link)

Step 3: Compile in VS
Next we need to compile the source files in Visual Studio
3.a
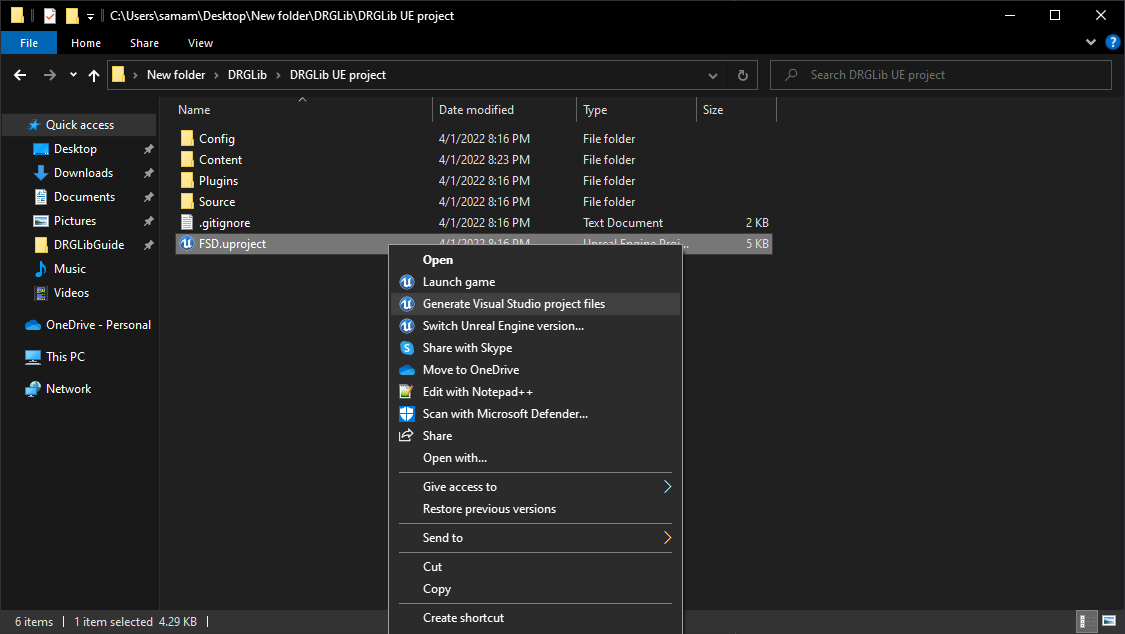
Switch to the folder “DRGLib UE Project” and right click on FSD.uproject, clicking the option “Generate Visual Studio project files”
3.b
Double click to open the file “FSD.sln” that is generated
3.c
Run the menu option Build > Build solution

3.d
Once that’s done (it should take a minute or 2) we can close VS
Step 4: Open uproject
Tada! You can officially start messing around with and/or viewing the DRGLib source code! Just double click on FSD.uproject
Step 5: Compiling/deploying
Once you’re done admiring the source code, you can test DRGLib locally by using some of the batch files in “Automation”
The first time you run one it will likely ask you to fix your configs. This will be different depending on how you have your files arranged. On my machine, localConfig.ini looks like this:
UnrealEngineLocation=C:\Program Files (x86)\Epic Games\UE_4.27\
SteamInstall=C:\Program Files (x86)\Steam\steamapps\common\Deep Rock Galactic\
You should not have to touch any other config files. I haven’t set up mod.io deployment through the batch files for DRGLib, so don’t worry about those either
Once you’ve fixed LocalConfig.ini, you can try the some of the following:
- Run QuickTestMod.bat, which will automatically cook DRGLib and run DRG through steam